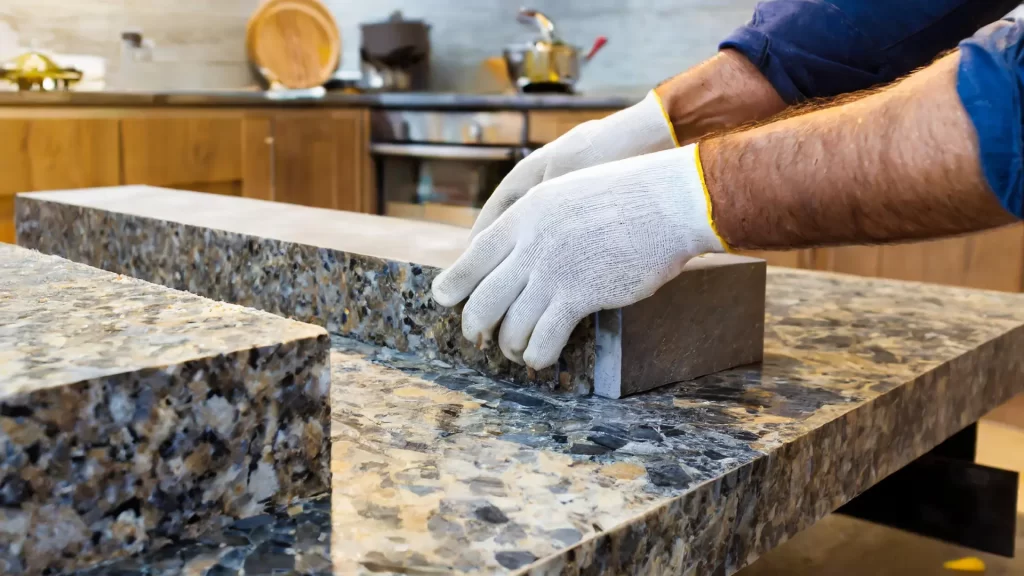
Joining granite worktops is a crucial step in achieving a seamless and professional-looking kitchen or bathroom surface. This process requires precision, the right tools, and careful attention to detail. In this article, we will walk you through the steps to properly join granite worktops, ensuring a flawless finish.
Tools and Materials Needed
Before you begin, gather the necessary tools and materials:
- Granite worktops
- Epoxy or polyester resin adhesive
- Granite seaming clips or suction cups
- Clamps
- Masking tape
- Acetone or denatured alcohol
- Mixing sticks
- Colour pigment (to match granite)
- Polishing pads or sandpaper
- Safety gear (gloves, goggles, mask)
Preparation
Measure and Dry Fit
- Measure the Area: Accurately measure the area where the granite worktops will be installed. Ensure that the worktops are cut to the correct size with precise edges.
- Dry Fit the Pieces: Place the granite pieces in their respective positions to ensure they fit correctly. This step allows you to make any necessary adjustments before applying adhesive.
Clean the Edges
- Clean the Edges: Use acetone or denatured alcohol to clean the edges of the granite where the seam will be joined. This removes any dust, dirt, or oils that could affect the bonding process.
- Mask the Edges: Apply masking tape along the edges of the granite pieces to protect the surface from excess adhesive.
Applying the Adhesive
Mixing the Adhesive
- Prepare the Adhesive: Use an epoxy or polyester resin adhesive suitable for stone surfaces. Follow the manufacturer’s instructions for mixing the adhesive.
- Add Colour Pigment: If needed, add a colour pigment to the adhesive to match the colour of the granite. This helps to create a seamless appearance.
Applying the Adhesive
- Apply the Adhesive: Using a mixing stick, apply the adhesive evenly along the edge of one of the granite pieces. Ensure there is enough adhesive to create a strong bond, but avoid excessive application that can ooze out.
- Position the Pieces: Carefully position the granite pieces together, ensuring the edges align perfectly. Press them firmly to ensure a good bond.
Securing the Seam
Using Seaming Clips or Suction Cups
- Place Seaming Clips: Position granite seaming clips or suction cups on either side of the seam. These tools help to pull the granite pieces tightly together, ensuring a snug fit.
- Tighten the Clips: Gradually tighten the clips or suction cups to bring the edges of the granite together. Be cautious not to overtighten, as this could cause the adhesive to ooze out or damage the granite.
Clamping the Pieces
- Use Clamps: If seaming clips or suction cups are not available, use clamps to secure the granite pieces. Place the clamps along the seam, ensuring even pressure is applied.
- Check Alignment: Continuously check the alignment of the granite pieces as you tighten the clamps. Adjust as necessary to maintain a level surface.
Cleaning and Finishing
Removing Excess Adhesive
- Wipe Away Excess Adhesive: Use a clean cloth and acetone to gently wipe away any excess adhesive that may have oozed out of the seam. Be careful not to disturb the alignment of the pieces.
- Allow to Cure: Let the adhesive cure according to the manufacturer’s instructions. This typically takes 24 to 48 hours.
Polishing the Seam
- Remove Masking Tape: Once the adhesive is fully cured, carefully remove the masking tape from the edges of the granite.
- Polish the Seam: Use polishing pads or fine-grit sandpaper to smooth the seam. Start with a coarse grit and gradually move to finer grits to achieve a polished finish. Ensure the seam is level with the surface of the granite.
Final Inspection
- Inspect the Seam: After polishing, inspect the seam to ensure it is smooth and seamless. Check for any gaps or uneven areas and address them accordingly.
- Clean the Surface: Wipe down the entire surface with a damp cloth to remove any dust or debris from the polishing process.
Conclusion
Joining granite worktops requires careful preparation, precise application of adhesive, and thorough finishing. By following these steps, you can achieve a seamless and professional-looking join that enhances the beauty and functionality of your granite worktops. Remember to take your time and prioritise safety throughout the process. With the right tools and techniques, you can successfully join granite worktops and create a stunning addition to your home.

